Step-by-Step Guide: Showing Billing Address After Payment Methods in Magento 2
Step-by-Step Guide: Showing Billing Address After Payment Methods in Magento 2
This guide explains how to configure Magento 2 to display the billing address after payment methods during checkout. Learn the exact steps to adjust the settings through the admin panel, clear the cache, and verify changes on the frontend.
Step-by-Step Guide: Showing Billing Address After Payment Methods in Magento 2
In Magento 2, displaying the billing address beneath each payment method can improve the checkout experience. By default, Magento 2 provides options to configure where the billing address appears. Follow these simple steps to customize this feature effectively.
Why Configure the Billing Address Display?
Showing the billing address near payment methods reduces confusion and enhances the user experience during checkout. Magento 2’s admin panel makes this easy to adjust.
Steps to Configure Billing Address Placement
- Log in to the Admin Panel:
- Access Configuration Settings:
- Adjust Billing Address Settings:
- Save and Apply Changes:
- Test the Changes on the Frontend:
Navigate to your Magento 2 admin dashboard.
Go to Stores > Configuration > Sales > Checkout.
Locate the Checkout Options section.
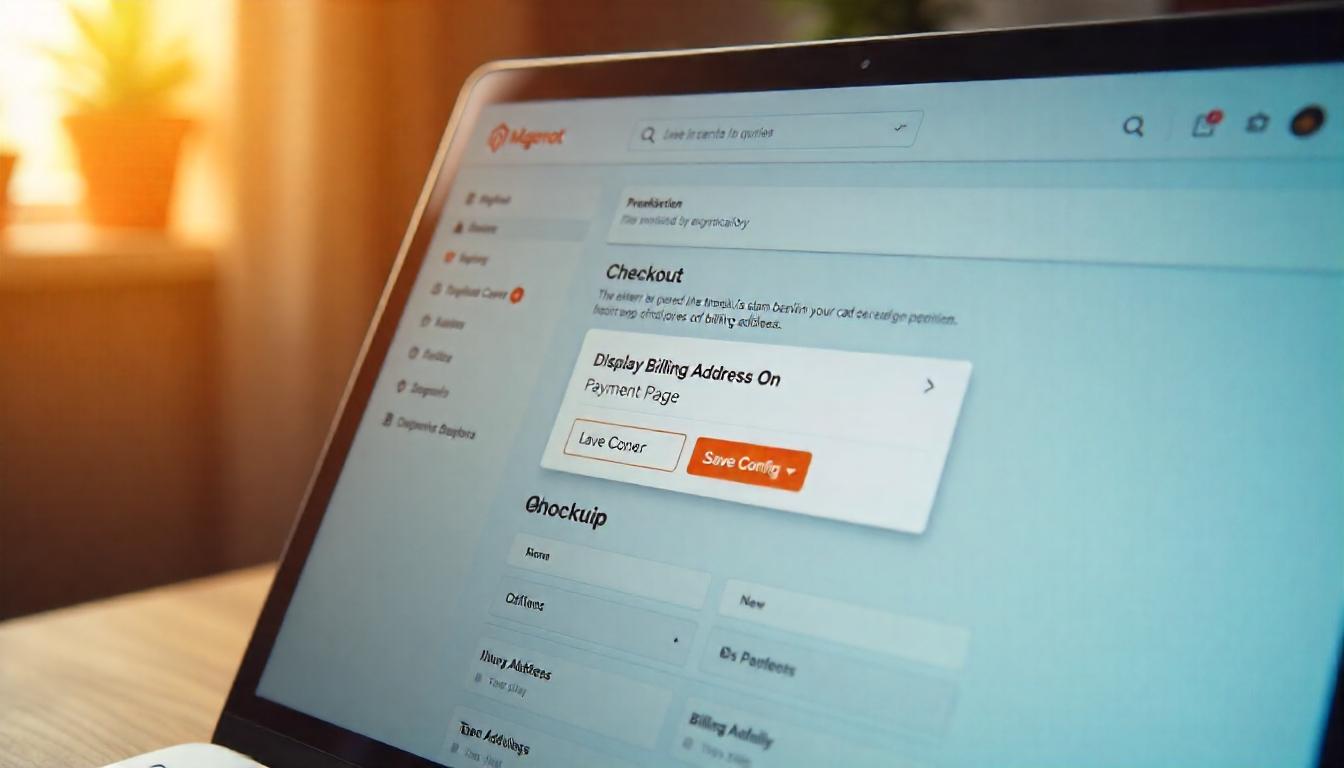
In the Display Billing Address On dropdown, choose the Payment Page option.
Click Save Config.
Clear the cache either through the CLI or the Cache Management section in the admin panel.
Add items to your cart.
Proceed to checkout from the mini cart.
Verify the billing address now appears after the payment methods section on the Payment and Review step.
Troubleshooting Common Issues
| Issue | Solution |
|---|---|
| Billing address not visible | Ensure the "Display Billing Address On" option is set to "Payment Page." |
| Changes not reflecting | Clear Magento’s cache fully. |
| Layout issues on the checkout page | Review your theme's customizations for potential conflicts. |
Additional Notes
If you’ve encountered errors in the past where the billing address didn’t display as intended, double-check the configuration settings and clear the cache. Custom themes or extensions may also override default functionality, so test thoroughly after making changes.
Tip
To enhance your eCommerce store’s performance with Magento, focus on optimizing site speed by utilizing Emmo themes and extensions. These tools are designed for efficiency, ensuring your website loads quickly and provides a smooth user experience. Start leveraging Emmo's powerful solutions today to boost customer satisfaction and drive sales!
FAQs
Where Is the Billing Address Displayed by Default in Magento 2?
By default, the billing address in Magento 2 is displayed near the payment method section on the checkout page.
How Can I Change the Billing Address Display Location?
You can adjust the location of the billing address through the admin panel. Navigate to:
Stores > Configuration > Sales > Checkout
Set the "Display Billing Address On" option to "Payment Page" and save your changes.
What Steps Should I Follow to Apply This Change?
- Log in to the Magento admin panel.
- Go to Stores > Configuration > Sales > Checkout.
- Select "Payment Page" from the "Display Billing Address On" dropdown.
- Save the configuration.
- Clear the cache to apply the changes.
What Commands Do I Use to Clear the Cache?
After making changes, clear the cache using the following CLI commands:
php bin/magento cache:flush
php bin/magento cache:clean
You can also clear the cache from the admin panel under **System > Tools > Cache Management**.
Why Should I Customize the Billing Address Placement?
Customizing the billing address placement enhances the user experience, making the checkout process more intuitive and reducing confusion.
What Common Issues May Arise While Making This Change?
Potential issues include:
- Configuration changes not reflecting due to uncleared cache.
- Theme customizations overriding the default settings.
- Conflicts with third-party extensions affecting the checkout layout.
Can These Steps Be Applied to Other Checkout Customizations?
Yes, similar steps can be used to modify other sections of the checkout page. Use the LayoutProcessor class for advanced layout adjustments.
How Can I Test the Changes Effectively?
To test, add items to your cart, proceed to checkout, and verify the billing address placement during the Payment and Review step. Ensure all changes are reflected properly after clearing the cache.


