Integrating Mailchimp with Magento 2: A Step-by-Step Guide
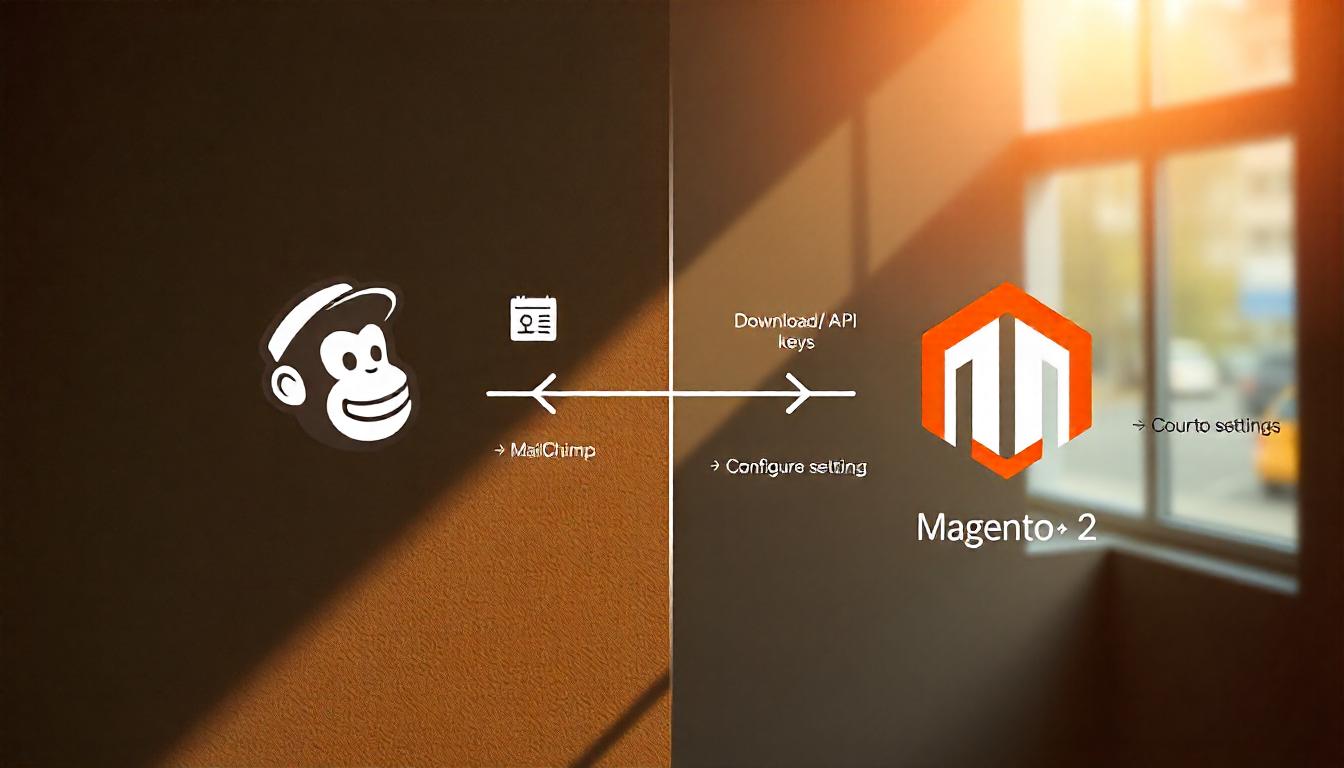
Integrating Mailchimp with Magento 2: A Step-by-Step Guide
Managing your Magento 2 store's newsletters through Mailchimp can enhance your email marketing efforts, streamline communications, and improve deliverability. Here’s how to configure Magento 2 to send newsletters via Mailchimp instead of using the default Magento email system.
Table Of Content
Integrating Mailchimp with Magento 2: A Step-by-Step Guide
Integrating Mailchimp with Magento 2 enhances your e-commerce marketing by synchronizing customer data and automating communications. Here's how to set it up:
1. Install the Mailchimp Extension
- Download the Extension: Visit the Mailchimp for Magento page on the Adobe Commerce Marketplace. Enter your Magento URL, select your Magento version, and click "Add to Cart." Proceed to checkout to download the extension.
- Upload Files: Extract the downloaded ZIP file and upload its contents to your Magento root directory. Ensure the following directories are updated:
- Flush Cache: In the Magento Admin Panel, navigate to System > Cache Management and click "Flush Magento Cache."
| Folder Name | Corresponding Directory |
|---|---|
| MailchimpForMagento/app | app |
| MailchimpForMagento/js | js |
| MailchimpForMagento/lib | lib |
| MailchimpForMagento/skin | skin |
| MailchimpForMagento/shell | shell |
2. Configure Mailchimp in Magento 2
- Access Configuration: Log in to your Magento Admin Panel. Go to System > Configuration, then select Mailchimp Configuration from the left sidebar.
- Enable Mailchimp: In the Mailchimp General Configuration section, set "Enabled" to "Yes."
- Obtain API Credentials: Click "Get API Credentials." A popup will prompt you to log in to your Mailchimp account. After logging in, click "Allow" to authorize Magento's access. Copy the provided API key.
- Save Configuration: Paste the API key into the "API Key" field in Magento and click "Save Config."
3. Set Up Mailchimp Store
- Create Mailchimp Store: In the Magento Admin Panel, go to Mailchimp > Mailchimp Stores and click "Create New Mailchimp Store."
- Enter Store Details: Provide your business information, including name, domain, and address. Click "Save" to create the store.
4. Configure E-commerce Settings
- Enable E-commerce Features: In the Ecommerce Configuration section, set "Enabled" to "Yes."
- Set Sync Date: Choose the date to start syncing data with Mailchimp.
- Configure Abandoned Cart: In the Abandoned Cart Configuration section, set "Enabled" to "Yes" to share cart abandonment data with Mailchimp. Select the date to start sharing this data.
- Save Config: Click "Save Config" to apply your settings.
5. Set Up Cron Jobs
To automate data synchronization, configure cron jobs in Magento. This ensures Mailchimp receives updated data from your store. Consult your hosting provider or a Magento expert for assistance.
6. Verify Integration
Log in to your Mailchimp account and navigate to Integrations > Manage > Ecommerce > Magento. Ensure your store appears in the list, confirming a successful connection.
Tip
To enhance your eCommerce store’s performance with Magento, focus on optimizing site speed by utilizing Emmo themes and extensions. These tools are designed for efficiency, ensuring your website loads quickly and provides a smooth user experience. Start leveraging Emmo's powerful solutions today to boost customer satisfaction and drive sales!
FAQs
How to Install the Mailchimp Extension for Magento 2?
You can install the Mailchimp extension by downloading it from the Adobe Commerce Marketplace, uploading the files to your Magento root directory, and flushing the Magento cache to complete the installation process.
Where Do I Configure Mailchimp Settings in Magento 2?
Navigate to System > Configuration > Mailchimp > Mailchimp Configuration in the Magento admin panel to access and configure Mailchimp settings, such as enabling Mailchimp and adding your API key.
How Do I Get the Mailchimp API Key for Magento 2 Integration?
Click the "Get API Credentials" button in the Mailchimp Configuration section. After logging into your Mailchimp account, click "Allow" to authorize access, and the API key will be displayed for you to copy.
Do I Need to Save the Configuration After Entering the API Key?
Yes, after entering the Mailchimp API key in the configuration settings, click the "Save Config" button in the top-right corner to save your changes.
How Do I Set Up a Mailchimp Store in Magento 2?
To set up a Mailchimp store, go to Mailchimp > Mailchimp Stores in the Magento admin panel, click "Create New Mailchimp Store," and enter your store details. Then, click "Save" to complete the setup.
What Are the E-commerce Configuration Options in Mailchimp for Magento 2?
In the **Ecommerce Configuration** section, enable the Mailchimp e-commerce features and set the synchronization start date. You can also enable abandoned cart features to share relevant data with Mailchimp.
Do I Need to Set Up Cron Jobs for Mailchimp Integration?
Yes, setting up cron jobs ensures automated synchronization between Magento and Mailchimp. If you’re unsure how to configure them, consult your hosting provider or a Magento expert for help.
How Do I Verify if the Mailchimp Integration Was Successful?
Log in to your Mailchimp account and navigate to Integrations > Manage > Ecommerce > Magento. If your store appears, the integration was successful.
Can I Customize the Mailchimp Email Templates in Magento 2?
Yes, you can customize the Mailchimp email templates directly from the Mailchimp platform after the integration is complete. Magento will send the subscription data to Mailchimp for handling email distribution.
What Should I Do if Mailchimp Isn’t Sending Emails After Integration?
If emails aren't being sent, double-check your API key configuration, ensure the "Magento always manage emails" option is set to "No," and clear the Magento cache. Verify the connection in Mailchimp as well.


