Understanding and Setting Magento 2 Modes: Developer, Production, and Default

Understanding and Setting Magento 2 Modes: Developer, Production, and Default
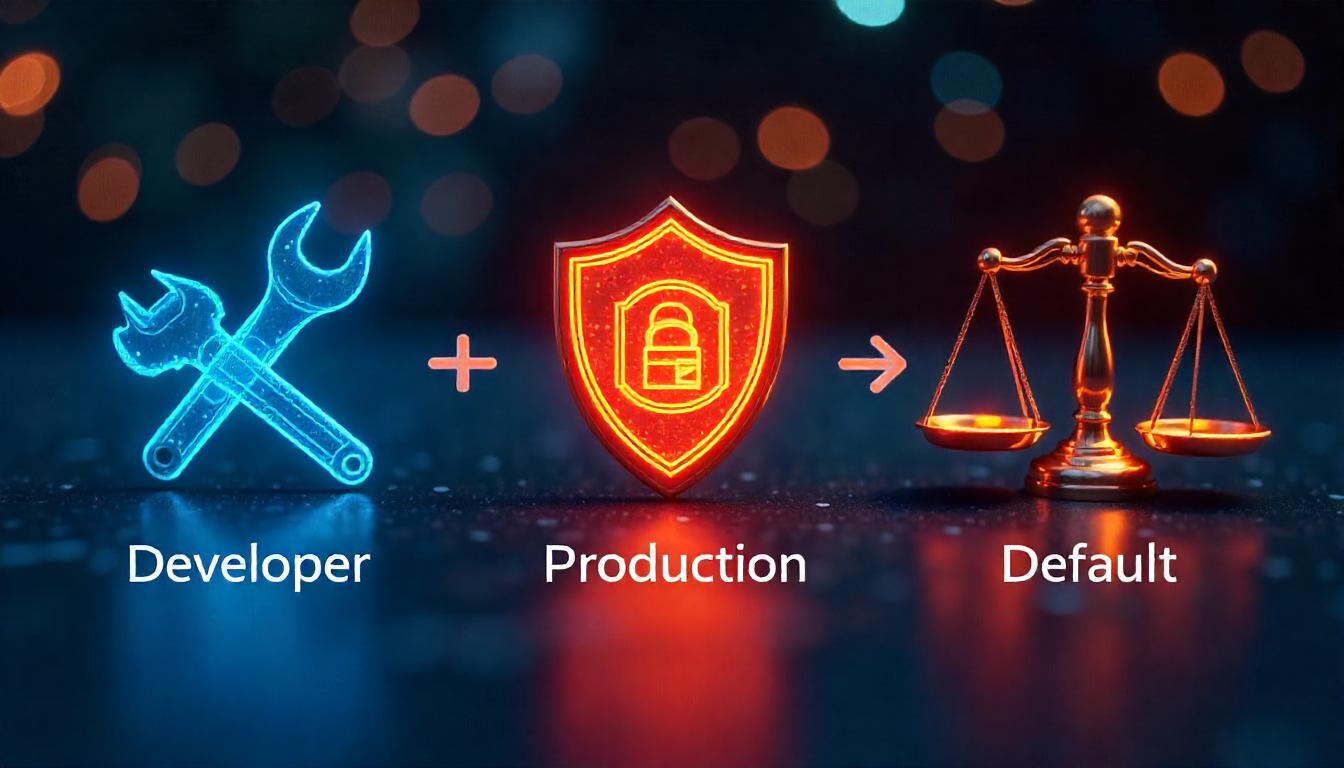
Magento 2 operates in three primary modes: Developer, Production, and Default, each tailored for specific use cases. Here's a concise breakdown of each mode and how to set them:
Table Of Content
Understanding Magento 2 Operational Modes
Magento 2 operates in three distinct modes: Default, Developer, and Production. Each mode is designed for specific use cases, offering tailored functionality to streamline the development, testing, and live performance of your store.
Overview of the Modes
- Default Mode:
- Developer Mode:
- Production Mode:
This is the mode your store starts in after installation.
Suitable for basic setups or exploring the platform.
Limited in caching and performance optimization, making it less ideal for live stores.
Designed for building and customization.
Displays errors and debugging information.
Avoid using it on live stores due to slower performance and less security.
Optimized for live stores with advanced caching and enhanced performance.
Hides error messages from users.
Provides the highest level of security.
Key Differences Between the Modes
| Feature | Default Mode | Developer Mode | Production Mode |
|---|---|---|---|
| Performance | Moderate | Slower | Fastest |
| Static File Caching | Partial (on demand) | None | Full (pre-built) |
| Error Display | Hidden | Visible | Hidden |
| Security | Moderate | Low | High |
How to Identify Your Magento 2 Mode
Understanding and managing your Magento 2 mode is essential for optimizing store performance and development. Magento 2 operates in three distinct modes: Default, Developer, and Production, each tailored for specific environments.
- Open your terminal or command prompt.
- Navigate to your Magento 2 root directory.
- Execute the following command:
Steps to Check the Current Mode
To check the current mode of your Magento 2 installation, follow these steps:
php bin/magento deploy:mode:show
This command will return the current mode, which could be Default, Developer, or Production.
Understanding Magento Modes
- Default Mode: A basic setup mode suitable for initial familiarization. It lacks advanced debugging or performance enhancements.
- Developer Mode: Ideal for debugging and development. It shows detailed error messages and skips certain caching mechanisms, which may slow down the store.
- Production Mode: Optimized for live websites. It focuses on speed and security by caching files and minimizing error visibility.
Switching Between Modes
You can change the mode by running:
php bin/magento deploy:mode:set
Replace
Common Challenges
- If CSS files don’t load correctly in Developer Mode, Magento might need reconfiguration. Address this by adjusting app/etc/di.xml or clearing cached static files.
- Always back up your store before switching modes to avoid potential disruptions.
Tip
To enhance your eCommerce store’s performance with Magento, focus on optimizing site speed by utilizing Emmo themes and extensions. These tools are designed for efficiency, ensuring your website loads quickly and provides a smooth user experience. Start leveraging Emmo's powerful solutions today to boost customer satisfaction and drive sales!
Steps to Enable Developer Mode in Magento 2
To enable developer mode, use the command line. Follow these steps:
- Clear Generated Directories:
- Run the Developer Mode Command:
Delete contents of the generated/code and generated/metadata directories:
rm -rf /generated/metadata/* /generated/code/*
Execute the following command to enable developer mode:
Execute the following command to enable developer mode:
Once completed, Magento will confirm with the message: Enabled Developer Mode.
| Command | Function |
|---|---|
bin/magento deploy:mode:set developer |
Activates developer mode |
rm -rf /generated/metadata/* |
Clears cached metadata files |
rm -rf /generated/code/* |
Clears generated code |
How to Disable Developer Mode
To switch out of developer mode (e.g., to production mode), use the following command:
bin/magento deploy:mode:set production
This command activates production mode and disables developer mode.
FAQs
What Are the Modes Available in Magento 2?
Magento 2 operates in three modes: Developer, Production, and Default. Each mode is tailored for specific stages of store setup and maintenance.
What Is Developer Mode in Magento 2?
Developer mode is designed for debugging and development. It provides real-time error messages and disables caching to ensure accurate updates during development.
When Should You Use Developer Mode?
Developer mode is ideal during the store's development phase or when testing new features and extensions.
What Is Production Mode in Magento 2?
Production mode is optimized for live stores. It enables full-page caching and hides error messages from users to enhance performance and security.
When Should You Use Production Mode?
Use production mode when your store is live and actively serving customers. It’s designed for performance and stability.
What Is Default Mode in Magento 2?
Default mode is a mix of developer and production settings. It’s suitable for initial installations but lacks the efficiency of production mode or the tools of developer mode.
How Do You Switch Between Magento 2 Modes?
To switch modes, use the Magento CLI command:
bin/magento deploy:mode:set [mode], replacing [mode] with developer, production, or default.
Why Is Choosing the Correct Mode Important?
Selecting the right mode ensures optimal performance, stability, and debugging efficiency depending on the stage of your Magento store.
What Are Best Practices for Magento 2 Modes?
Best practices include using developer mode during development, switching to production mode for live stores, and avoiding default mode except for initial installations. Regularly review your mode settings to ensure they match your store's current needs.


