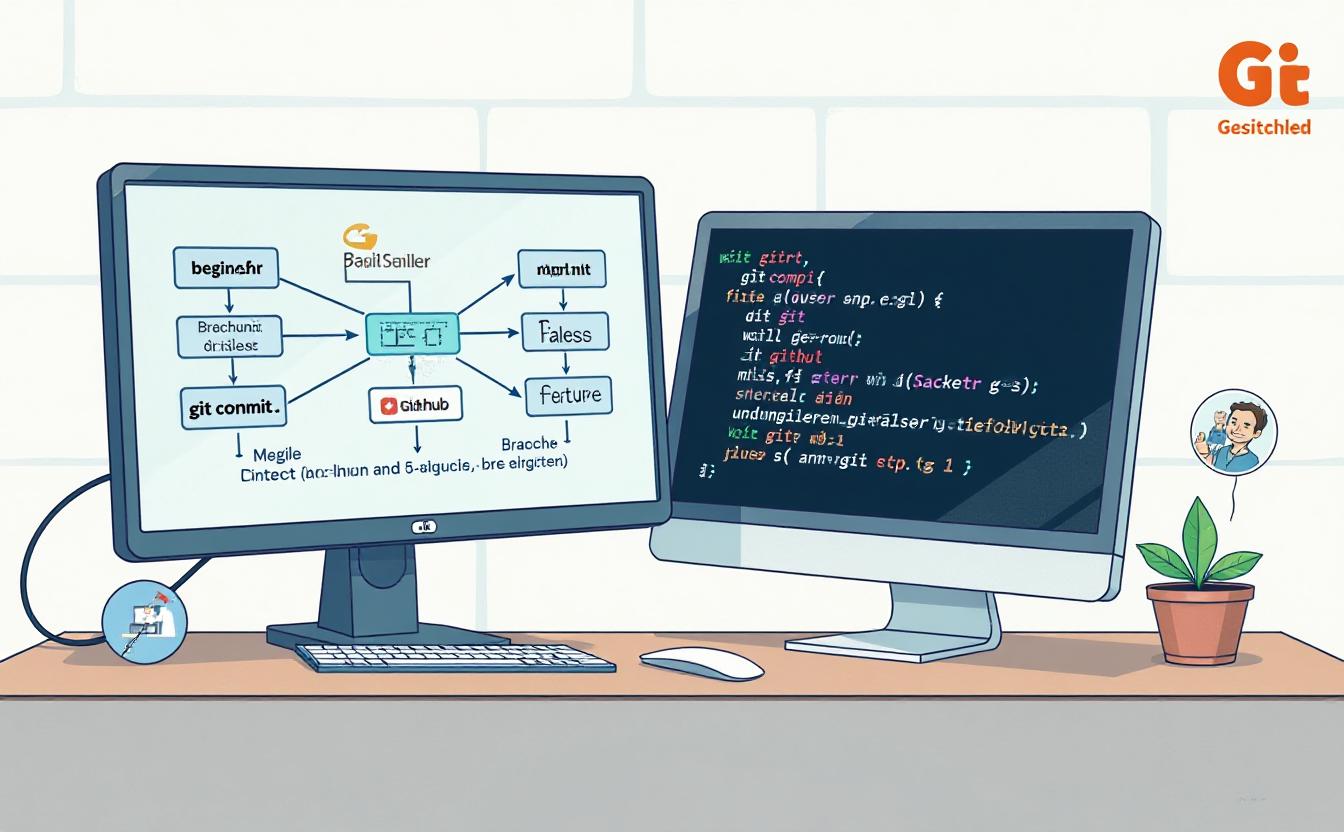
Getting Started with Git

Getting Started with Git
Table of Contents
What is Git and Why Use It?
Git is an open-source, distributed version control system (VCS) that helps developers efficiently manage and track changes in their codebase. Unlike centralized version control systems, Git allows every user to have a complete local copy of the repository, including its full history. This structure provides several key benefits:
Distributed Nature: Since every developer has the entire history of the repository on their local machine, they can work independently without needing constant access to a central server. This allows for faster operations such as commits, diffs, and logs since no network access is needed. Version Tracking: Git makes it easy to keep track of changes to your code, who made them, and why. With every commit, you’re able to document changes and provide detailed commit messages to describe the purpose of the modifications. Collaboration: Git simplifies collaboration among developers. Multiple people can work on the same project, even simultaneously, by using branches. These branches allow developers to isolate their work and later merge it back into the main codebase. Security and Integrity: Git uses SHA-1 hashing to uniquely identify every object within the repository (commits, trees, etc.), making it highly secure. It ensures that no changes can be made to any file or commit without Git knowing about it. Reverting and History: One of Git’s strengths is that it makes reverting to previous states of your project easy. If a bug is introduced, you can roll back to any previous state, compare versions, or even cherry-pick changes from one branch into another.
Installing Git on Your System
To start using Git, you need to install it on your local system. The installation process depends on your operating system:
Windows:
Download the installer from the official Git website.
Run the installer and follow the setup instructions, including selecting options like adding Git to the system PATH for easy access.
Choose between using Git via Git Bash (a Unix-like terminal) or the native Windows Command Prompt.
Once installed, open the terminal (Git Bash or Command Prompt) and typegit --versionto verify the installation.
macOS:
Open the terminal and run the following command if you have Homebrew installed: brew install git.
If you don't have Homebrew, you can install Git using the Xcode Command Line Tools by typing xcode-select --install.
After installation, verify by running git --version in your terminal.
Linux:
Git is available in most package managers. For example, on Ubuntu or Debian, run sudo apt-get install git, or for Fedora, use sudo dnf install git.
Once installed, check the version by running git --version.
After Git is installed, it’s a good idea to configure it with your name and email, which are used to label your commits. Run the following commands:
arduino
git config --global user.name "Your Name"
git config --global user.email "[email protected]"
Tip
If you offer your SEO texts in several languages or localize them for different regions, your pages may be incorrectly classified as duplicate content. However, there is a simple solution to this in the form of hreflang. Our article explains what you need to bear in mind when using hreflang.
Read more about hreflangBasic Git Commands for Beginners
Here are some basic Git commands you’ll frequently use:
git init: This command initializes a new Git repository in the current directory. It creates a .git directory that will track all changes.
Example:
bash
git init
git status: Check the current status of your working directory. It shows any changes that are staged, unstaged, or untracked.
Example:
bash
git status
git add: Add files to the staging area. Files must be staged before they can be committed. You can add a specific file (git add or all changes (git add .).
Example:
bash
git add index.html
git add
git commit: Create a commit, which is a snapshot of your staged changes. Always include a descriptive message about what was changed in that commit.
Example:
bash

git commit -m "Added new feature to the homepage"
git log: View the history of commits in the repository. Each commit is displayed with its SHA-1 hash, the author’s name, date, and commit message.
Example:
bash

git log
Creating Your First Git Repository
To create a Git repository, you’ll need a project folder. If you don’t already have one, create a new directory for your project:
bash

mkdir my-project
cd my-project
Now, initialize Git inside this directory:
bash
git init
This will set up a new Git repository, and you’ll see a .git folder created inside your project directory. This folder contains all the necessary files that Git uses to track changes in your project.
Next, add some files to your project. For example, you can create an index.html file. After editing the file, you can track the changes by adding the file to the staging area:
bash
git add index.html
Then commit your changes:
bash
git commit -m "Initial commit"
Understanding Git Commit and Version Control
A commit in Git represents a snapshot of your project at a specific point in time. Each commit stores the state of the entire project, and these snapshots allow you to track changes over time. When you make a commit, Git saves: The exact changes made to files (additions, deletions, or modifications). The author of the changes. The commit message describing the purpose of the changes. A timestamp for when the changes were committed. A unique identifier (SHA-1 hash) that represents the commit.
To make a commit, the general workflow is:
Stage your changes: This is done with the git add command. Only changes that are staged will be included in the next commit.
Commit the changes: Rungit commit -m "Your commit message" to record the staged changes.
Proper version control through commits allows you to:
Roll back to any previous state of the project.
Compare the differences between versions usinggit diff.
Keep track of who made specific changes, making debugging and collaboration easier.
Branch and merge different versions of your project seamlessly.
How to Branch and Merge in Git
Branching is one of Git’s most powerful features. It allows you to work on different parts of a project in isolation. For example, you might want to create a new branch to add a feature without disrupting the main codebase.
To create a new branch, use the following command:
bash

git branch branch-name
Switch to that branch using:
bash

git checkout branch-name
You can now work on your feature without affecting the main branch. Once the feature is complete, you can merge it back into the main branch. First, switch back to the main branch:
bash

git checkout main
Then, merge the changes:
bash

git merge branch-name
Git will attempt to automatically merge the changes. However, if there are conflicting changes (e.g., the same line was edited in both branches), you will need to resolve these conflicts manually. After resolving conflicts, commit the merge and continue working.
Collaborating with Git: Push, Pull, and Clone
Git becomes even more powerful when working with remote repositories like GitHub, GitLab, or Bitbucket. A remote repository is a version of your project hosted on a server. This allows multiple collaborators to work on the same project and share their changes.
git push: This command uploads your local changes (commits) to a remote repository. After making commits locally, you push them to a remote server for others to see.
Example:
bash

git push origin main
git pull: This command downloads the latest changes from a remote repository into your local repository. It combines the actions of fetch (downloading changes) and merge (merging them into your code).
Example:
bash

git pull origin main
git clone: If you’re starting on a new project, you can clone an existing remote repository to your local machine. This downloads the entire project history and sets up a local copy.
Example:
bash

git clone https://github.com/user
Best Practices for Managing Git Projects
To effectively manage a Git project, consider following these best practices:
Commit frequently: Regular commits with clear messages make it easier to track changes. Use branches: Keep the main branch clean and stable by creating branches for features or bug fixes. Write meaningful commit messages: Descriptive messages help others understand the changes and improve collaboration. Merge regularly: Avoid long-running branches by merging frequently to keep everything up to date. Review changes before committing: Always check your code using git diff to review changes before committing. These practices ensure smooth project management, especially in larger teams or complex projects.
| Getting Started with Git | |
|---|---|
| 1. What is Git and Why Use It? | Git is a distributed version control system that tracks changes in your codebase, offering collaboration, security, and easy rollback features. It allows teams to work on projects simultaneously, with a clear record of all changes made. |
| 2. Installing Git on Your System | Git can be installed on Windows, macOS, and Linux. Follow platform-specific instructions, such as using an installer on Windows, Homebrew on macOS, or package managers on Linux. Verify installation by running git --version. |
| 3. Basic Git Commands for Beginners | Learn essential commands like git init, git add, git commit, and git status to start tracking changes and creating snapshots of your project. |
| 4. Creating Your First Git Repository | Initialize a new repository using git init in your project folder. Track changes to files by adding them with git add and commit with a meaningful message using git commit. |
| 5. Understanding Git Commit and Version Control | Commits represent snapshots of your project. They allow you to track changes, compare versions, and revert to previous states if needed. Always write descriptive commit messages for better clarity. |
| 6. How to Branch and Merge in Git | Use branching to work on features independently, without affecting the main codebase. Once complete, merge the branch back into the main branch. Resolve conflicts if necessary before merging. |
| 7. Collaborating with Git: Push, Pull, and Clone | Collaborate with remote repositories by using git push to upload changes and git pull to retrieve updates from others. Use git clone to download a full repository to your local machine. |
| 8. Git Best Practices for Effective Version Control | Follow best practices like committing often, using meaningful messages, creating feature branches, and regularly pulling changes from the remote repository to stay in sync with your team. |
FAQs
What is Git and Why Use It?
Git is an open-source, distributed version control system (VCS) that helps developers efficiently manage and track changes in their codebase. It provides benefits such as independent work on repositories, fast operations, version tracking, and secure collaboration.
How Do I Install Git on My System?
To install Git, follow platform-specific steps:
- Windows: Download the installer from the Git website and follow the setup instructions.
- macOS: Use Homebrew or install via Xcode Command Line Tools.
- Linux: Use the appropriate package manager for your distribution (e.g.,
sudo apt-get install gitfor Ubuntu).
What Are the Basic Git Commands I Should Know?
Some basic Git commands include:
git init: Initialize a new Git repository.git add: Stage files for commit.git commit: Commit changes with a message.git status: Check the status of your repository.
How Do I Create My First Git Repository?
To create a repository, navigate to your project directory and run git init. After adding files, use git add to stage them, followed by git commit to save your changes.
What is a Git Commit and Why is it Important?
A Git commit represents a snapshot of your project at a specific point in time. It tracks who made changes, what changes were made, and provides an option to revert to earlier states if necessary.
How Do Branching and Merging Work in Git?
Branching allows you to work on separate features without affecting the main codebase. After completing your changes, you can merge the branch back into the main branch, ensuring isolated and organized workflows.
How Can I Collaborate Using Git?
Git facilitates collaboration by using remote repositories. You can push your local changes to a remote repository, pull updates from other contributors, and clone repositories to work on shared projects.
What Are Git Best Practices for Version Control?
Best practices include committing frequently, using branches, writing meaningful commit messages, merging regularly, and reviewing code before committing.


