Step-by-Step Guide: Installing a Custom Theme in Magento 2
Step-by-Step Guide: Installing a Custom Theme in Magento 2
A theme in Magento 2 provides a consistent look and feel in the store frontend or the admin area, with the help of custom templates, layouts, styles or images. Nowadays, people tend to judge a book by its cover and thus, a beautiful design and theme play an important role in site recognition. The Magento 2 themes are well known to provide better customer experience and interactive platform! Hence they are a must-have in your store infrastructure.
Table Of Content
- Prerequisites for Installing a Custom Theme in Magento 2
- Understanding Magento 2 Directory Structure
- Creating the Custom Theme Directory
- Setting Up theme.xml and registration.php Files
- Creating and Modifying the Theme Layouts
- Adding Custom CSS and JavaScript Files
- Configuring the Theme in the Admin Panel
- Activating the Custom Theme in Magento 2
- Testing and Debugging the Custom Theme
- Troubleshooting Common Issues During Installation
- Frequently Asked Questions (FAQs)
Prerequisites for Installing a Custom Theme in Magento 2
You must have a fully functional Magento 2 instance set up and running. This includes proper installation of Magento 2, with all dependencies and configurations correctly in place. Whether you are using a local environment, a development server, or a live production server, the installation should be stable and operational. Having Magento 2 fully installed ensures that all backend and frontend features are accessible and working as expected before applying any customizations. You need full access to Magento’s file system to create, modify, or delete files as part of the theme installation. This can be achieved through FTP/SFTP access, SSH access for command-line interactions, or direct access if you're working locally. Having access to the file system allows you to navigate to important directories like app/design/frontend and make the necessary additions for your custom theme, such as creating theme-specific folders and files.
Understanding Magento 2 Directory Structure
To successfully develop a custom theme in Magento 2, it’s crucial to familiarize yourself with its directory structure, as this will guide you on where to place different files and assets for your theme. One of the most important directories for theme development is the app/design/frontend folder. This is the specific location where Magento stores all of the frontend themes, including both built-in Magento themes and any custom themes you create. In the app/design/frontend directory, themes are organized by vendor names and theme names. The structure follows a simple format: first, a folder with your vendor name (this could be the name of your company or project), followed by a folder with the name of your custom theme. For example, if your vendor is named "Emmo" and your theme is called "CustomTheme", the directory path would be app/design/frontend/Emmo/CustomTheme. Inside the theme folder, various subdirectories are used to store the different components of your theme, such as layout XML files, template files, and static assets like CSS, JavaScript, and images. Understanding where to place each file within this structure ensures that Magento can properly load and apply your custom theme to the frontend of the store.
Tip
Do you want to snag a better spot on the Google search results? Check your website for free with the rankingCoach from emmo.
Creating the Custom Theme Directory
To Go to your Magento root folder, then navigate to the following path: app/design/frontend. This is where all frontend themes are stored. By convention, all Magento themes (both custom and default) reside within the frontend folder. In the frontend folder, you will create a new directory following this structure:
Setting Up theme.xml and registration.php Files
To define your custom Magento 2 theme, create a theme.xml file in your theme's directory. This file provides essential information about your theme, such as its title, version, and parent theme (if applicable). It can also include a reference to a preview image. After defining the theme in theme.xml, create a registration.php file to register the theme with Magento. This file is located in the root directory of your theme and tells Magento where to find and load the theme. Both files are necessary for Magento to recognize and apply your custom theme.
Step-by-Step Guide: Installing a Custom Theme in Magento 2
| Step | Action | Description |
|---|---|---|
| 1 | Create Theme Directory | Navigate to app/design/frontend and create a folder named <Vendor>/<Theme>. |
| 2 | Set Up theme.xml | Create a theme.xml file in your theme directory to define the theme. |
| 3 | Create registration.php | Add a registration.php file to register your theme with Magento. |
| 4 | Add Layout XML | Create layout XML files to define the structure of your pages. |
| 5 | Add CSS/JS Files | Include your custom CSS and JavaScript files in the theme directory. |
| 6 | Activate Theme | Go to Admin Panel, navigate to Content > Design > Configuration and select your theme. |
| 7 | Test Theme | Check the frontend of your site to ensure the theme is working correctly. |
| 8 | Troubleshoot | Fix any issues encountered during the installation process. |
Creating and Modifying the Theme Layouts
To customize the layouts of your Magento 2 theme, you need to add layout XML files in the layout directory of your theme. The layout directory is where you define the structure and content placement for specific pages or sections within Magento. Layout XML files allow you to modify the default layouts provided by Magento or create entirely new ones by specifying which blocks and containers should be displayed, as well as their order on the page. For example, if you want to customize the layout of the product view page, you would create a layout XML file named catalog_product_view.xml in the layout directory. In this file, you can add, remove, or modify blocks and containers. In this example, the layout XML file is modifying the product view page by adding a custom block inside the content container. You can create layout XML files for various areas of your store, such as the homepage, category pages, checkout, and more. The layout files follow a naming convention that corresponds to the route of the page you’re targeting (e.g., catalog_category_view.xml for category pages, checkout_cart_index.xml for the shopping cart page).
Adding Custom CSS and JavaScript Files
To create custom styling for your Magento 2 theme, you should add your CSS files to the web/css directory within your theme's folder. This directory is specifically designated for CSS files that will be utilized to style your theme. When creating your CSS files, you can organize them in a way that makes sense for your project. For example, you might have a styles.css file for general styles, along with additional files like header.css or footer.css for more specific styling. After creating your CSS files, ensure they are included in your theme's layout files or directly in the default_head_blocks.xml file to ensure that Magento loads them properly when rendering pages. You can also create a source folder within web/css to hold your Sass or Less files if you’re using CSS preprocessors. Remember to compile your stylesheets if you’re using preprocessors to ensure that the final CSS is correctly generated. In addition to styling, you can enhance the functionality of your theme by adding custom JavaScript files to the web/js directory. This directory is meant for JavaScript files that provide interactive elements and behaviors to your theme. Similar to your CSS files, you can organize your JavaScript files based on functionality or components, such as main.js, slider.js, or product.js.
Configuring the Theme in the Admin Panel
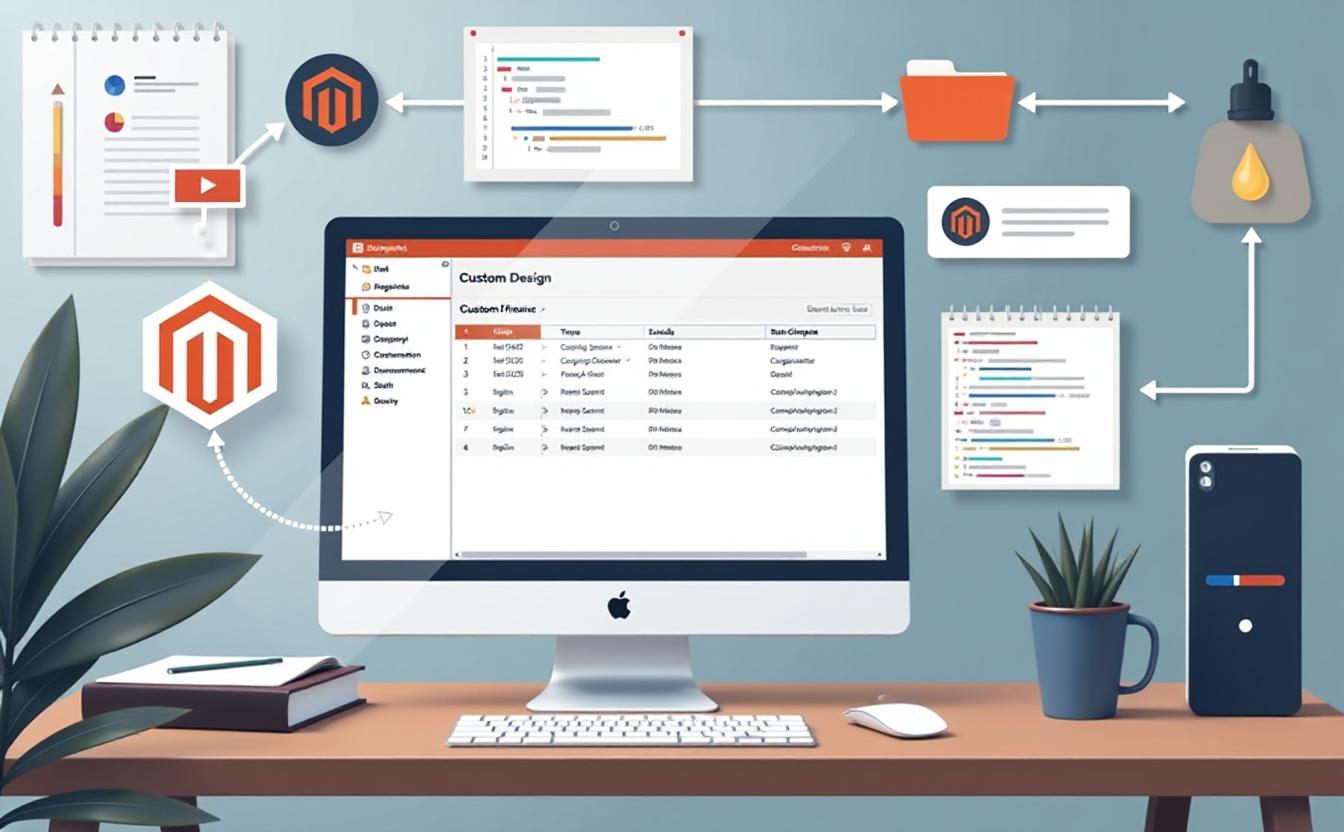
In the Magento 2 Admin Panel, to assign your custom theme to the storefront, first navigate to Content > Design > Configuration. This section allows you to manage the design settings for different store views in your Magento installation. Once you are in the Configuration section, you will see a grid displaying the various store views. Locate the store view to which you want to apply your custom theme. Typically, the default store view is labeled as "Default Config." Next to the selected store view, click the Edit icon in the Action column. This will take you to the configuration settings for that particular store view. In the Applied Theme dropdown menu, you will see a list of available themes, including the custom theme you previously defined. Select your custom theme from this dropdown. After selecting the theme, scroll to the bottom of the page and click the Save Configuration button to apply your changes. You may need to clear the cache for the changes to take effect. To do this, navigate to System > Tools > Cache Management, select all cache types, and click Flush Magento Cache. Once the cache is cleared, your custom theme will be assigned to the storefront, and you can preview it by visiting your site.
Activating the Custom Theme in Magento 2
To activate your custom theme in Magento 2, navigate to the Magento Admin Panel and follow these detailed steps: Log in to the Admin Panel: Use your admin credentials to access the Magento Admin Dashboard. Go to Content: In the left-hand navigation menu, locate and click on the Content section. This will expand a sub-menu. Select Design: Under the Content section, click on Design. This will direct you to the Design configuration settings. Choose Configuration: Within the Design section, you will see an option for Configuration. Click on it to access the configuration settings for all store views. Locate Your Store View: In the Configuration grid, find the store view for which you want to apply the custom theme. Typically, it is the default store view unless you have multiple store views set up. Click Edit: Next to the store view, click on the Edit icon (pencil icon) in the Action column. This will take you to the configuration settings specific to that store view. Applied Theme Dropdown: In the Theme section of the settings, you will see the Applied Theme dropdown menu. Click on it to view the list of available themes, including your custom theme. Select Your Custom Theme: From the dropdown menu, select the custom theme you have created. Save Configuration: Once your theme is selected, scroll down and click the Save Configuration button in the top right corner to apply your changes. Clear Cache: After saving the configuration, you may need to clear the cache to see the changes on the frontend. Go to System > Tools > Cache Management, select all cache types, and click Flush Magento Cache. After performing these steps, your custom theme should be activated for the selected store view.
Testing and Debugging the Custom Theme
After activating your custom theme in Magento 2, it's essential to thoroughly test and debug it to ensure everything functions as intended. Begin by navigating through the frontend of your Magento store, checking various pages to see how they render with the new theme. Pay attention to key areas like the homepage, product pages, category pages, and checkout process. Verify that all content is displayed correctly, including product images, text, and layout components. Additionally, check that interactive elements such as buttons, links, and forms are functioning properly. Use developer tools in your web browser (such as Chrome DevTools or Firefox Developer Edition) to inspect elements, view console logs, and identify any issues related to CSS or JavaScript. If you encounter any errors or unexpected behavior, refer to your theme files, including layout XML files, CSS styles, and JavaScript files, to locate the source of the problem. Make necessary adjustments and re-test until everything is working smoothly. It's also a good practice to check your site's responsiveness on various devices and screen sizes, ensuring that the design is mobile-friendly and accessible.
Troubleshooting Common Issues During Installation
When installing a custom theme in Magento 2, several common issues may arise. Understanding these potential problems and their solutions can save time and frustration. One common issue is that the custom theme does not appear in the theme selection dropdown in the Admin Panel. This could be due to missing or improperly configured theme files, such as theme.xml or registration.php. Ensure these files are correctly placed in your theme directory. Additionally, if the theme is not registered, double-check the contents of registration.php for accuracy. Another common problem is that changes made in the theme do not reflect on the frontend. This can often be resolved by clearing the cache. Navigate to System > Tools > Cache Management and refresh all cache types. Sometimes, you may need to enable developer mode to see changes immediately during development. Finally, issues with layout or styling can occur due to incorrect XML configurations or CSS errors. Inspect your layout XML files for any errors and utilize browser developer tools to troubleshoot CSS issues, such as conflicts with existing styles or missing stylesheets.
Frequently Asked Questions (FAQs)
What are the prerequisites for installing a custom theme in Magento 2?
You must have a fully functional Magento 2 instance set up and running. This includes proper installation of Magento 2, with all dependencies and configurations correctly in place. You need full access to Magento’s file system to create, modify, or delete files as part of the theme installation.
Why is it important to understand Magento 2 directory structure?
Familiarizing yourself with its directory structure is crucial as this will guide you on where to place different files and assets for your theme. For example, all frontend themes are stored in the app/design/frontend folder.
How do I create a custom theme directory?
Navigate to your Magento root folder, then go to app/design/frontend. Create a new directory following the structure: /
What files are necessary to set up my custom theme?
Create a theme.xml file in your theme's directory and a registration.php file to register the theme with Magento.
What is the process for activating the custom theme?
Log in to the Admin Panel, navigate to Content > Design > Configuration, and select your theme from the Applied Theme dropdown menu. Then, save your configuration and clear the cache.
How do I troubleshoot common issues during theme installation?
Common issues include the custom theme not appearing in the dropdown. Ensure that the theme files are correctly configured, and clear the cache if changes do not reflect on the frontend.
What should I do after activating my custom theme?
Test and debug the theme thoroughly. Check various pages for proper rendering and functionality of interactive elements.


